Just promoting quizzaciously for Vsauce.
Test GUI for Grbl without Arduino using the Simulator and virtual com port under GNU Linux.
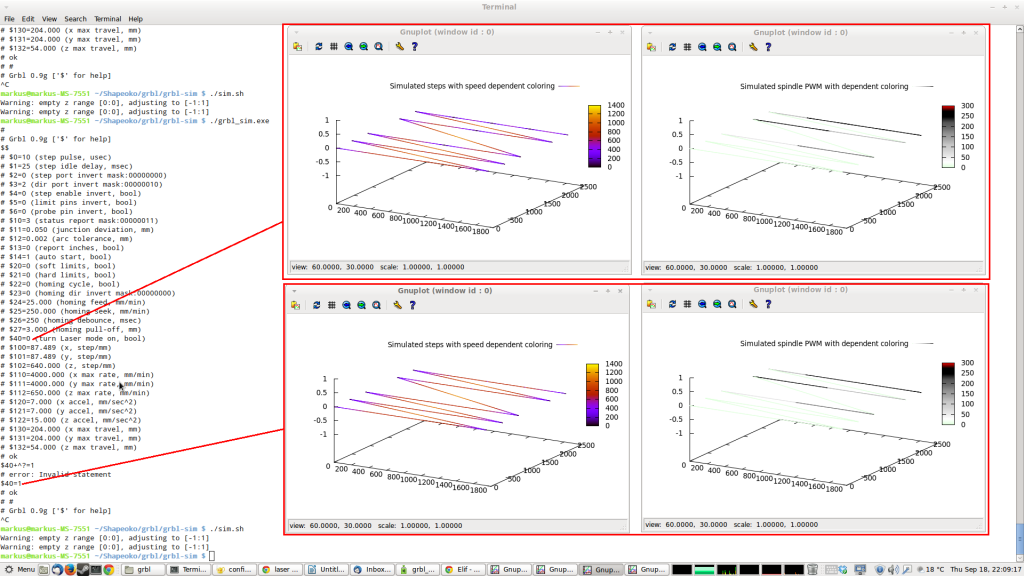
My Arduino is not accabale right now but I wanted to look at a new GUI or gcode sender program for Grbl called SourceRabbit GCode Sender. I already had the simulator compiled and ready to go and the next step was just to find a way to connect both together. I found that the program socat can do just this:
socat -d -d pty,raw,echo=0,link=/tmp/ttyV0 pty,raw,echo=0,link=/tmp/ttyV1
This creates two virtual serial ports with the names /tmp/ttyV0 and /tmp/ttyV1 and connect both together. Now I just need to direct the output and input of Grbl to one of the virtual serial ports:
./grbl_sim -n > /tmp/ttyV0 < /tmp/ttyV0
To test if this works I can use a command line terminal program like miniterm and connect to the other virtual serial port
miniterm.py /tmp/ttyV1
Now that everything is working I can finally test the new SourceRabbit GCode Sender program.
chrubuntu: zram-config is working wonders if ram runs out… no more freezing desktop.
I’m using chrubuntu on a acer 710 since a long time and it works well, but sometime I ran out of ram and the PC freezes, this happens a lot with Chrome if I open multiple tabs. I was just looking for ways to limit Chrome ram uses but stumbled on the zram stuff and it looks like this helps. I was able to open 15 tabs with different pages and no crash.
sudo apt-get install zram-config
That’s it.
Linux image to laser g code converter
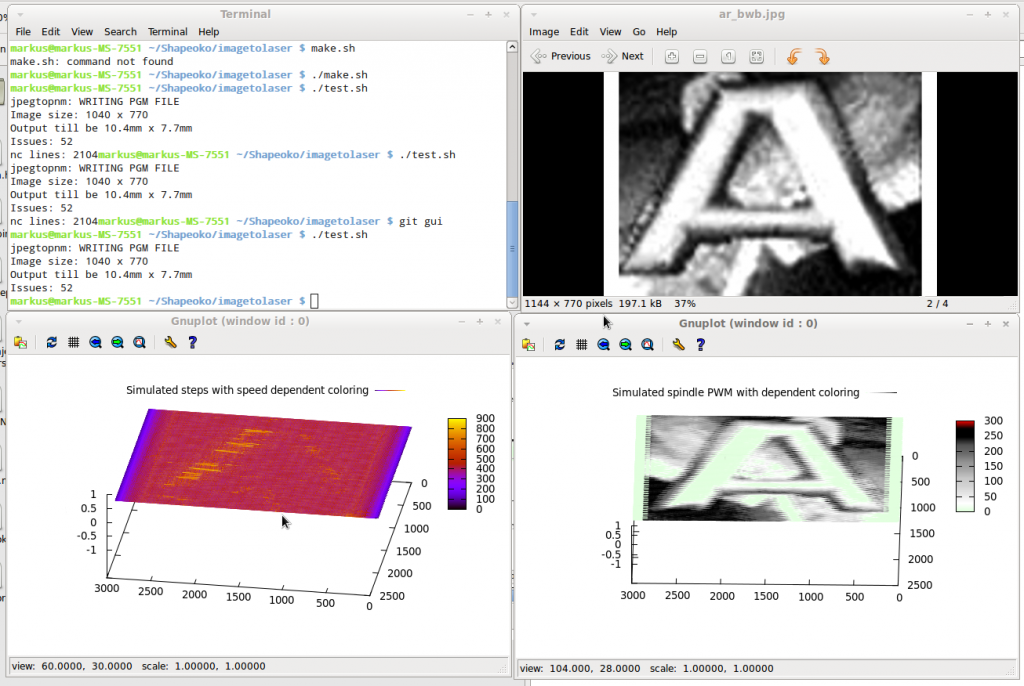
I did find imagecarve a GPL V2 open source program. After mapping the Z axis to S spindle values it looks like the g code it spits out could work with my laser. I only did test this with the greate grbl simulator, but I would guess after some more tweaking it should work on the real machine too.
Here is my Github project with the source files.
Looks like the image gets flipped when burned, but I flipped it back for this page. I think cardboard in not the best medium for laser engravings, it burns too fast.
real time spindle control aka laser mode for grbl
$X
G20 G90 G64 G40
T0 M6
G17
G1 F500
G0 X0 Y0 Z0
G1 X20
G0 X0 Y5 Z0
G1 X10
G1 X20
G0 X0 Y10 Z0
M3 S64
G1 X10
S196
G1 X20
M5
G0 X0 Y20 Z0
M3
G1 X10 S255
G1 X20 S127
M5 s0
G0 X0 Y25 Z0
M3
G1 X5 S128
G1 X10 S300
G1 X15 S1000
G1 X20 S255
M5
M30
Here are the changes:
Github Link
Compile time option example:
#if defined(LASER_SPINDLE) && defined(USE_LINE_NUMBERS)
void plan_buffer_line(float *target, float feed_rate, uint8_t invert_feed_rate, float rpm, uint8_t direction, int32_t line_number);
#elif defined(LASER_SPINDLE)
void plan_buffer_line(float *target, float feed_rate, uint8_t invert_feed_rate, float rpm, uint8_t direction);
#elif defined(USE_LINE_NUMBERS)
void plan_buffer_line(float *target, float feed_rate, uint8_t invert_feed_rate, int32_t line_number);
#else
void plan_buffer_line(float *target, float feed_rate, uint8_t invert_feed_rate);
#endif
Grbl 0.9g settings for my Shapeoko
>>> $$
$0=10 (step pulse, usec)
$1=25 (step idle delay, msec)
$2=0 (step port invert mask:00000000)
$3=2 (dir port invert mask:00000010)
$4=0 (step enable invert, bool)
$5=0 (limit pins invert, bool)
$6=0 (probe pin invert, bool)
$10=3 (status report mask:00000011)
$11=0.050 (junction deviation, mm)
$12=0.002 (arc tolerance, mm)
$13=0 (report inches, bool)
$14=1 (auto start, bool)
$20=1 (soft limits, bool)
$21=0 (hard limits, bool)
$22=1 (homing cycle, bool)
$23=1 (homing dir invert mask:00000001)
$24=25.000 (homing feed, mm/min)
$25=250.000 (homing seek, mm/min)
$26=250 (homing debounce, msec)
$27=3.000 (homing pull-off, mm)
$100=87.489 (x, step/mm)
$101=87.489 (y, step/mm)
$102=640.000 (z, step/mm)
$110=4000.000 (x max rate, mm/min)
$111=4000.000 (y max rate, mm/min)
$112=650.000 (z max rate, mm/min)
$120=15.000 (x accel, mm/sec^2)
$121=15.000 (y accel, mm/sec^2)
$122=15.000 (z accel, mm/sec^2)
$130=204.000 (x max travel, mm)
$131=204.000 (y max travel, mm)
$132=54.000 (z max travel, mm)
ok
core components for a open source Laser Tag
Just a quick list of the core components:
TSAL6100 IR sender
TSOP4856 IR receiver
optic for sender
clear plastic dome for receiver
RMF12B
LM386
I got the info from here.
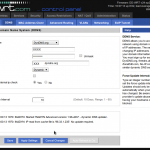
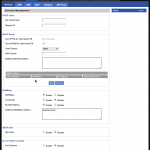
DD WRT OPENVPN setup for Firmware: DD-WRT v24-sp2 (03/25/13) mega
This is how I configured OPEN VPN on my DD WRT router:
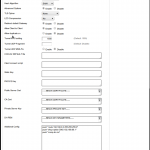
All the key generation tutorials are still good, but with the new firmware most of the settings are now in GUI:
Internal local IP range: 192.168.0.0/24
VPN IP range 192.168.66.0/24
DNS extra settings:
interface=tun2
settings
push "route 192.168.0.0 255.255.255.0"
push "dhcp-option DNS 192.168.66.1"
push "comp-lzo no"
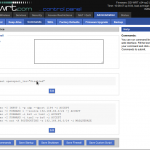
fire wall rules:
iptables -I INPUT 1 -p udp --dport 1194 -j ACCEPT
iptables -I FORWARD 1 --source 192.168.66.0/24 -j ACCEPT
iptables -I FORWARD -i br0 -o tun2 -j ACCEPT
iptables -I FORWARD -i tun2 -o br0 -j ACCEPT
iptables -t nat -A POSTROUTING -s 192.168.66.0/24 -j MASQUERADE
Client File, like client1.ovpn:
remote xxx.dyndns.org 1194
client
remote-cert-tls server
dev tun0
proto udp
resolv-retry infinite
nobind
persist-key
persist-tun
float
-----BEGIN CERTIFICATE-----
SECRET blablabla
-----END CERTIFICATE-----
-----BEGIN CERTIFICATE-----
SECRET blablabla
-----END CERTIFICATE-----
-----BEGIN PRIVATE KEY-----
SECRET blablabla
-----END PRIVATE KEY-----
Heekscad for Linux Mint 13
Heekscad64.tar.gz
Heekscad386.tar.gz
You may need to do this:
sudo apt-get install liboce-.*1
Encryption and Keyrings
The executable to configure key servers and other encryption settings is: seahorse-preferences